
As the first pilot to purposefully ram a B-17 Flying Fortress, Sergeant Oda Tadao received praise in the Japanese media and received a posthumous promotion. It is unlikely that the incident was deliberate, though
A B-17F dubbed Fightin’ Swede took off from Port Moresby’s Seven-Mile ‘drome in the early morning of May 8, 1943, on its own armed reconnaissance mission of the northern New Guinea coast from Madang to Saidor. The goal of the mission was to track down Japanese merchant ships that were allegedly transporting supplies to the area. Nonetheless, the weather in New Guinea was behaving as expected since an unstable air mass was causing heavy clouds and squalls along the coastal littoral.
The bomber, piloted by Major Robert Keatts, failed to return. It was fifty miles north of Madang when it made its last radio transmission on the hour at 0900, stating that it had found and was circling a Japanese convoy. A few days later, Radio Tokyo reported that a Japanese fighter pilot had deliberately rammed a Flying Fortress over New Guinea on that particular day, bringing it down. Because of this, it was assumed at Port Moresby that the victim had been a Fightin’ Swede.
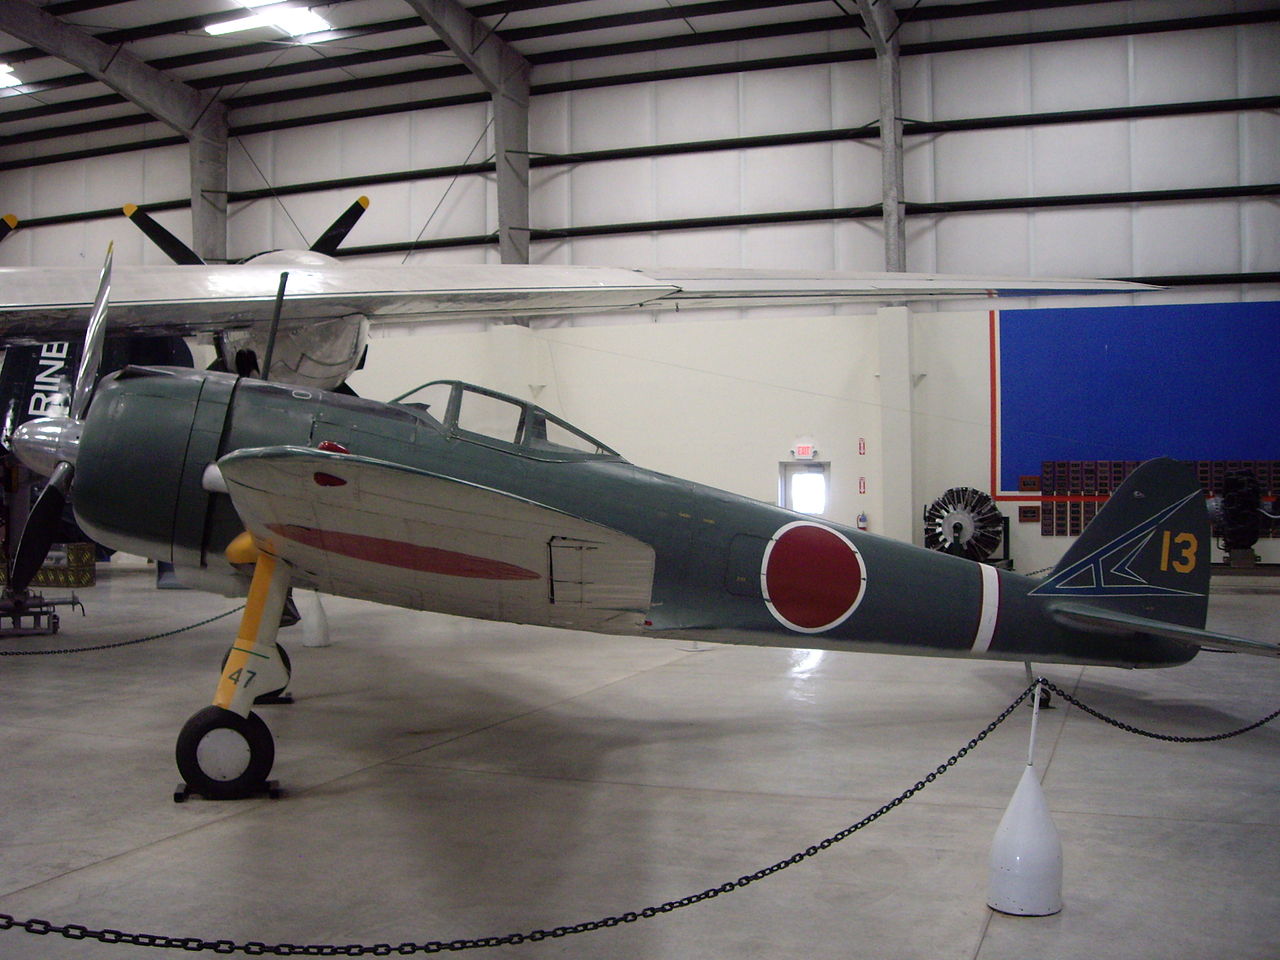
Japanese and US Army Air Force (USAAF) records on the subject correspond perfectly, as Michael John Claringbould explains in his book Pacific Adversaries Volume One. The Fortress was discovered by nine Ki-43 Hayabusa of the 11th Sentai, headed by Captain Takashi Ninomiyo, commander of No. 1 Chutai, not long after its final transmission. A shotai of three fighters led by Lieutenant Kobayashi Junji broke off from Takashi’s detachment after spotting the Fortress and launched the first attack. Takashi’s detachment was tasked to cover the approaching ships.
The 11th Sentai had suffered through nearly nonstop action in the theater of operations for around five months by this point in the war and had lost the majority of its original Mark I Hayabusa arsenal. Although six Mark IIs had already been added to its inventory as replacements, its worn-out pilot crew was scheduled to return to Japan on June 19, 1943, in five weeks. They would hand over their remaining Hayabusa to other Wewak-based units upon departure. This clarifies why the nine Hayabusa Takashi led were a mishmash of leftover Mark I and new Mark II Hayabusa recruited from various chutai.
Kobayashi’s trio conducted their initial assault on the Fortress from behind and slightly above, then they rotated around and made frontal assaults. An apparently unharmed Fightin’ Swede moved toward the cover of the cloud during these assaults. According to Japanese archives, Sergeant Oda Tadao deliberately collided with the Fortress during a head-on pass because he didn’t want to let the B-17 escape. After colliding, both the B-17 and the fighter immediately fell. Following this, Oda was praised in the Japanese media for reportedly intentionally ramming the Fortress. As a result of the extensive publicity, he was also promoted to Lieutenant posthumously in recognition of his apparent courage.
In a conflict, though, things might not always be as they seem. Since the beginning of the conflict, the Japanese Army Air Force (JAAF) vigorously prohibited suicide tactics. Oda probably simply miscalculated the strike direction and hit the bomber.
Many of the Japanese Navy fighter pilots who saw the Fortress for the first time in 1941 and 1942 had already remarked how difficult it was to judge closing speeds due to its size. A calculation error was likely given the frontal attack’s close speed of more than 350 mph, as evidenced by the countless earlier combat collisions in New Guinea.
If the Japanese narrative is accurate, Oda is said to have rammed the bomber around 0813 JST (0913 local), which indicates that Fightin’ Swede had been in the air for roughly thirteen minutes following its last location report at 0900. The aircraft may reach the New Guinea shore in thirteen minutes while attempting to return to Port Moresby, which is likely. Regardless of the presence of cloud cover, Fightin’ Swede was unlikely to travel farther out to sea in order to enter Japanese territory, making it more plausible that it was returning home. If so, the collision with Oda’s Hayabusa in midair could have happened over the coast or possibly just a little inland.
Early in March 1944, Australian soldiers moving towards Madang discovered the Type II Hayabusa’s wreckage at Bau Plantation. The ship’s tail was still intact, showing the 11th Sentai markings in clear view. The Allies Technical Air Intelligence Unit inspected the wreck on March 19, 1944, including any clear markings. Bau Plantation is situated squarely on the route that Fightin’ Swede would have taken to return to Seven-Mile that morning, presuming that it was close to the New Guinea coast when it was brought down. Moreover, Oda’s is the only 11th Sentai Hayabusa known to have been lost in a battle close to Madang. As a result, it is likely that the Hayabusa under examination belonged to Oda.
Whether because it fell into the ocean or it’s located in an inhospitable place, the wreckage of the Fightin’ Swede has never been located.
Pacific Adversaries Volume One is published by Casemate Publishing and is available to order here.
Photo by Jack Fellows illustration and Stumanusa own work via Wikipedia